One of the hands-down best things about Netlify is how simple it is to go from working on something to seeing it deployed online. In this tutorial, we’ll show how to deploy a Vue site, with multiple methods. We’ll also cover how to get your domain set up. Let’s begin!
Deploy a Directory
If you’d like to drag n drop a directory in order to deploy, you can certainly do so. Go to app.netlify.com/drop, drag your output directory into the UI, and you’re done! But the issue here is that next time you deploy, you’ll have to drag it over again.
Git-based Deployment
If you prefer something more automated for subsequent deploys, it makes sense to hook your repo up to Netlify. Netlify will then continuously deploy every time you push to master (or whatever branch you choose).
We log in, select where our repo is (GitHub, GitLab, or BitBucket), and authenticate by clicking on the button that says “New Site from Git”. We’ll then search for the repo given the options:
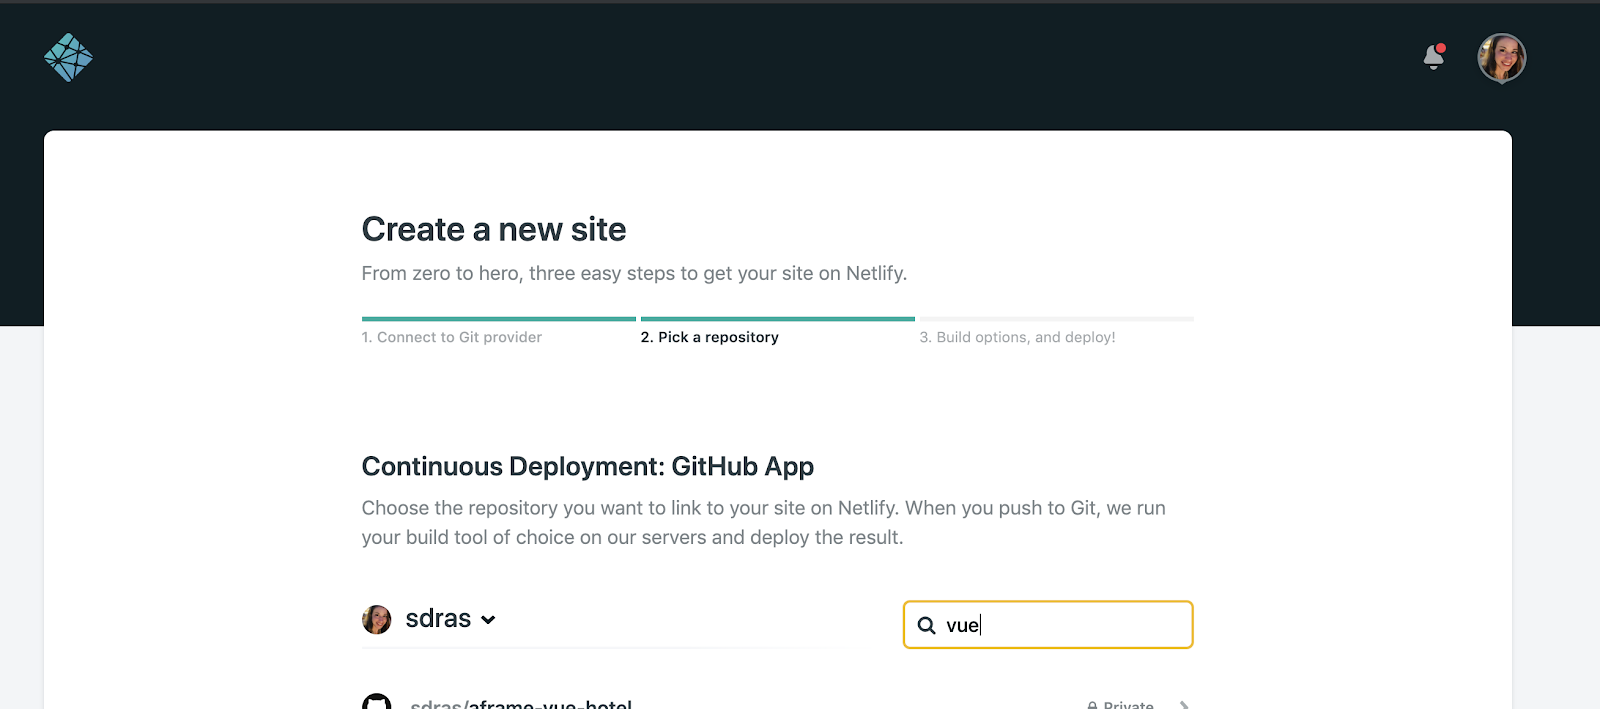
From here, if we would like to just deploy a directory that doesn’t need to a build process, we would leave the build command and point the publish directory to the folder where your site files can be found, which might just be the root of your repo.
But typically, in the creation of Vue sites, we’ll kick off our project with a CLI tool. We have a few ways to deploy given how the Vue site was created:
Vue CLI
Follow the steps above and when you link the repo, use the build command npm run build or yarn build. Set the publish directory to dist.
Hit the ‘Deploy Site` button and you’re done!
Nuxt
Nuxt’s workflow for deploying is quite lovely. We go through the steps above to make a relationship between our repo and Netlify, and when we do, we’ll set the build command to be npm run generate or yarn generate and our directory for deployment to be dist.
That’s it! Pour yourself a drink to celebrate 🍻
If you’ve set up dynamically generated pages based on data, you can follow this guide I wrote that will walk through steps for how to get that set up properly as well.
Here are also a few templates that use Nuxt, you can just hit the blue “deploy to netlify” button and it they will deploy to your account:
- Awake – comes with support for site search, newsletter sign-up via mailchimp, comments via disqus
- Bael– comes with Netlify CMS and a Serverless Function for sending Newsletters
Gridsome
Again, follow the top steps and set the build command to be gridsome build and our directory for deployment to be dist.
Hit deploy and you’re off to the races!
Here’s a Gridsome template if you’d like to start with some scaffolding and simply hit a “deploy to netlify” button. It comes with our CMS baked in as well.
Domains
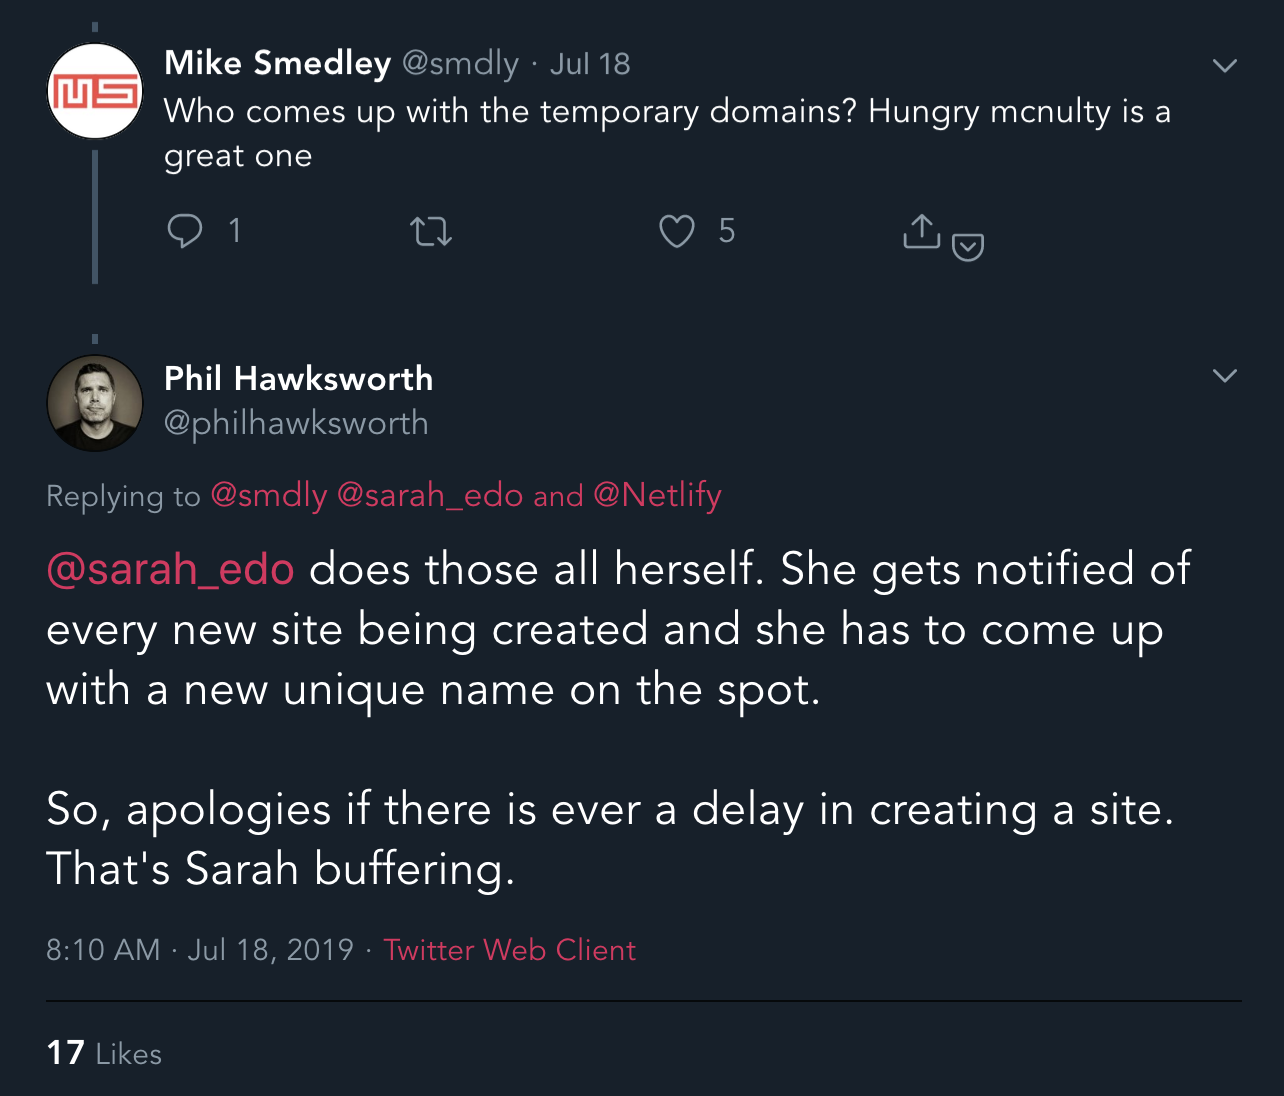
Netlify will automatically assign you a unique domain name, which I personally make up myself on the spot when you deploy a new site to Netlify.
(this is not really how it works 🙂)
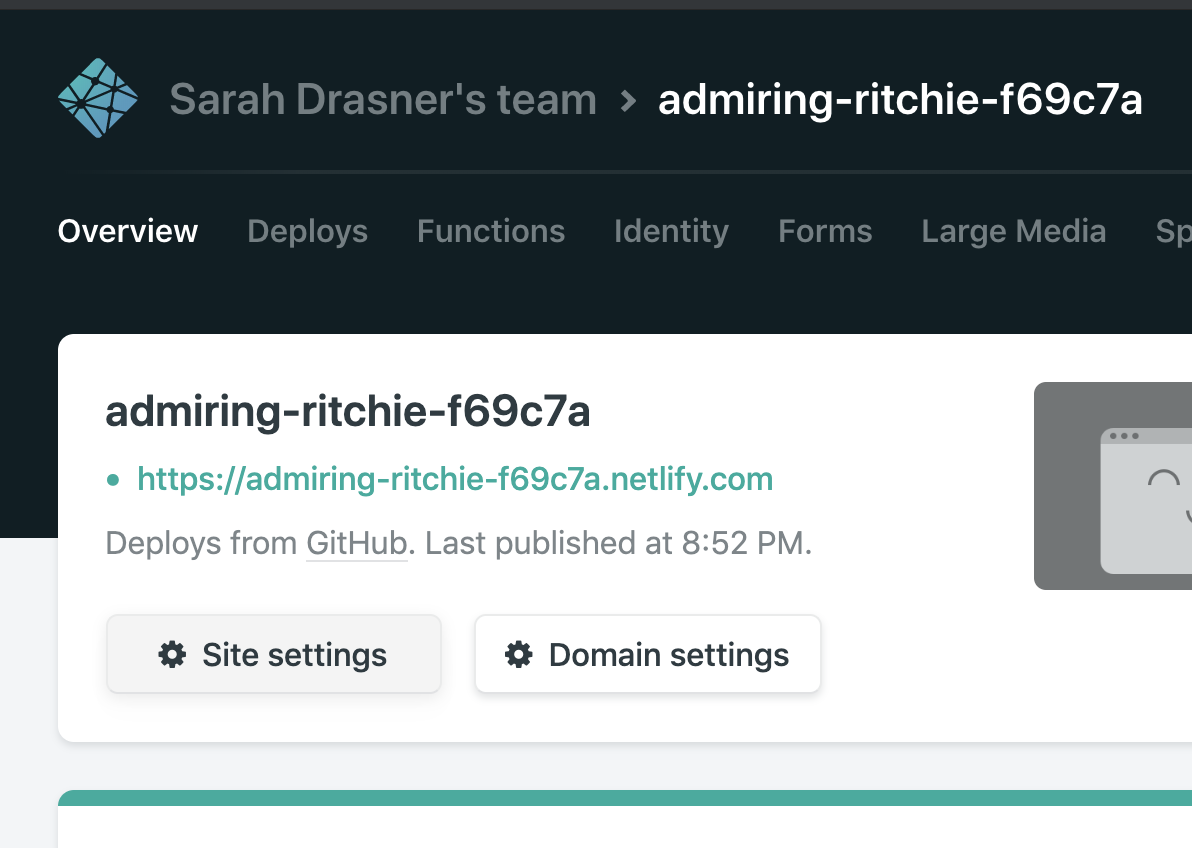
It will look something like this: admiring-ritchie-f69c7a.netlify.com
If you wish to change the site name for free and don’t mind it on a subdomain, Netlify offers this for free as long as they’re not already taken.
Go to the overview page, and under the URL, you’ll see a button that says “Site Settings”.
At the top of the Site Settings page there is some basic setup info, and if you click “change site name”, a modal comes up where you can change the name directly.
The changes should take place immediately.
If you want to use your own unique domain, you have a few options, all of which are covered in our documentation here.
That’s it! For any of the options above, Netlify makes the process simple to get any type of Vue site online quickly.
Here’s a list of resources that might come in handy: